Steps on how to recover data on version 4.2.1
Problem Statement
The steps below are applicable only if the Excellentable plugin was upgraded to version 4.2.1 (Released on: ). There is a major architecture change with version 4.2.1 where the Excellentable integer IDs are migrated to UUIDs as soon as you install the new version. After the version is installed any new Excellentable would be created using UUID.
Symptoms
If the Confluence instance was recently restarted after the plugin was upgraded to version 4.2.1 you may see Excellentable not rendering in some of the confluence pages. An example page would look like below:
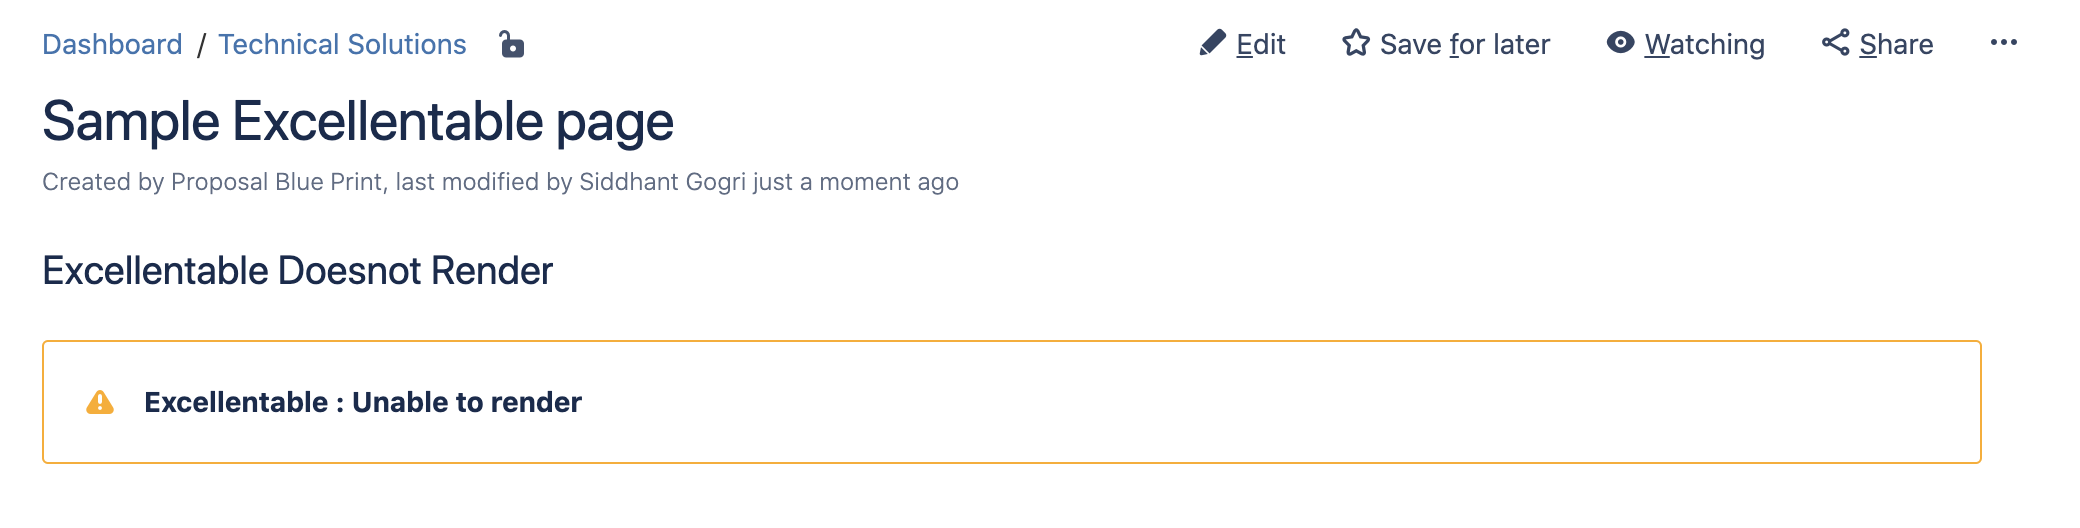
This indicates that the migration ran again and the new data created or edited between the upgrade and restart is lost.
Investigation
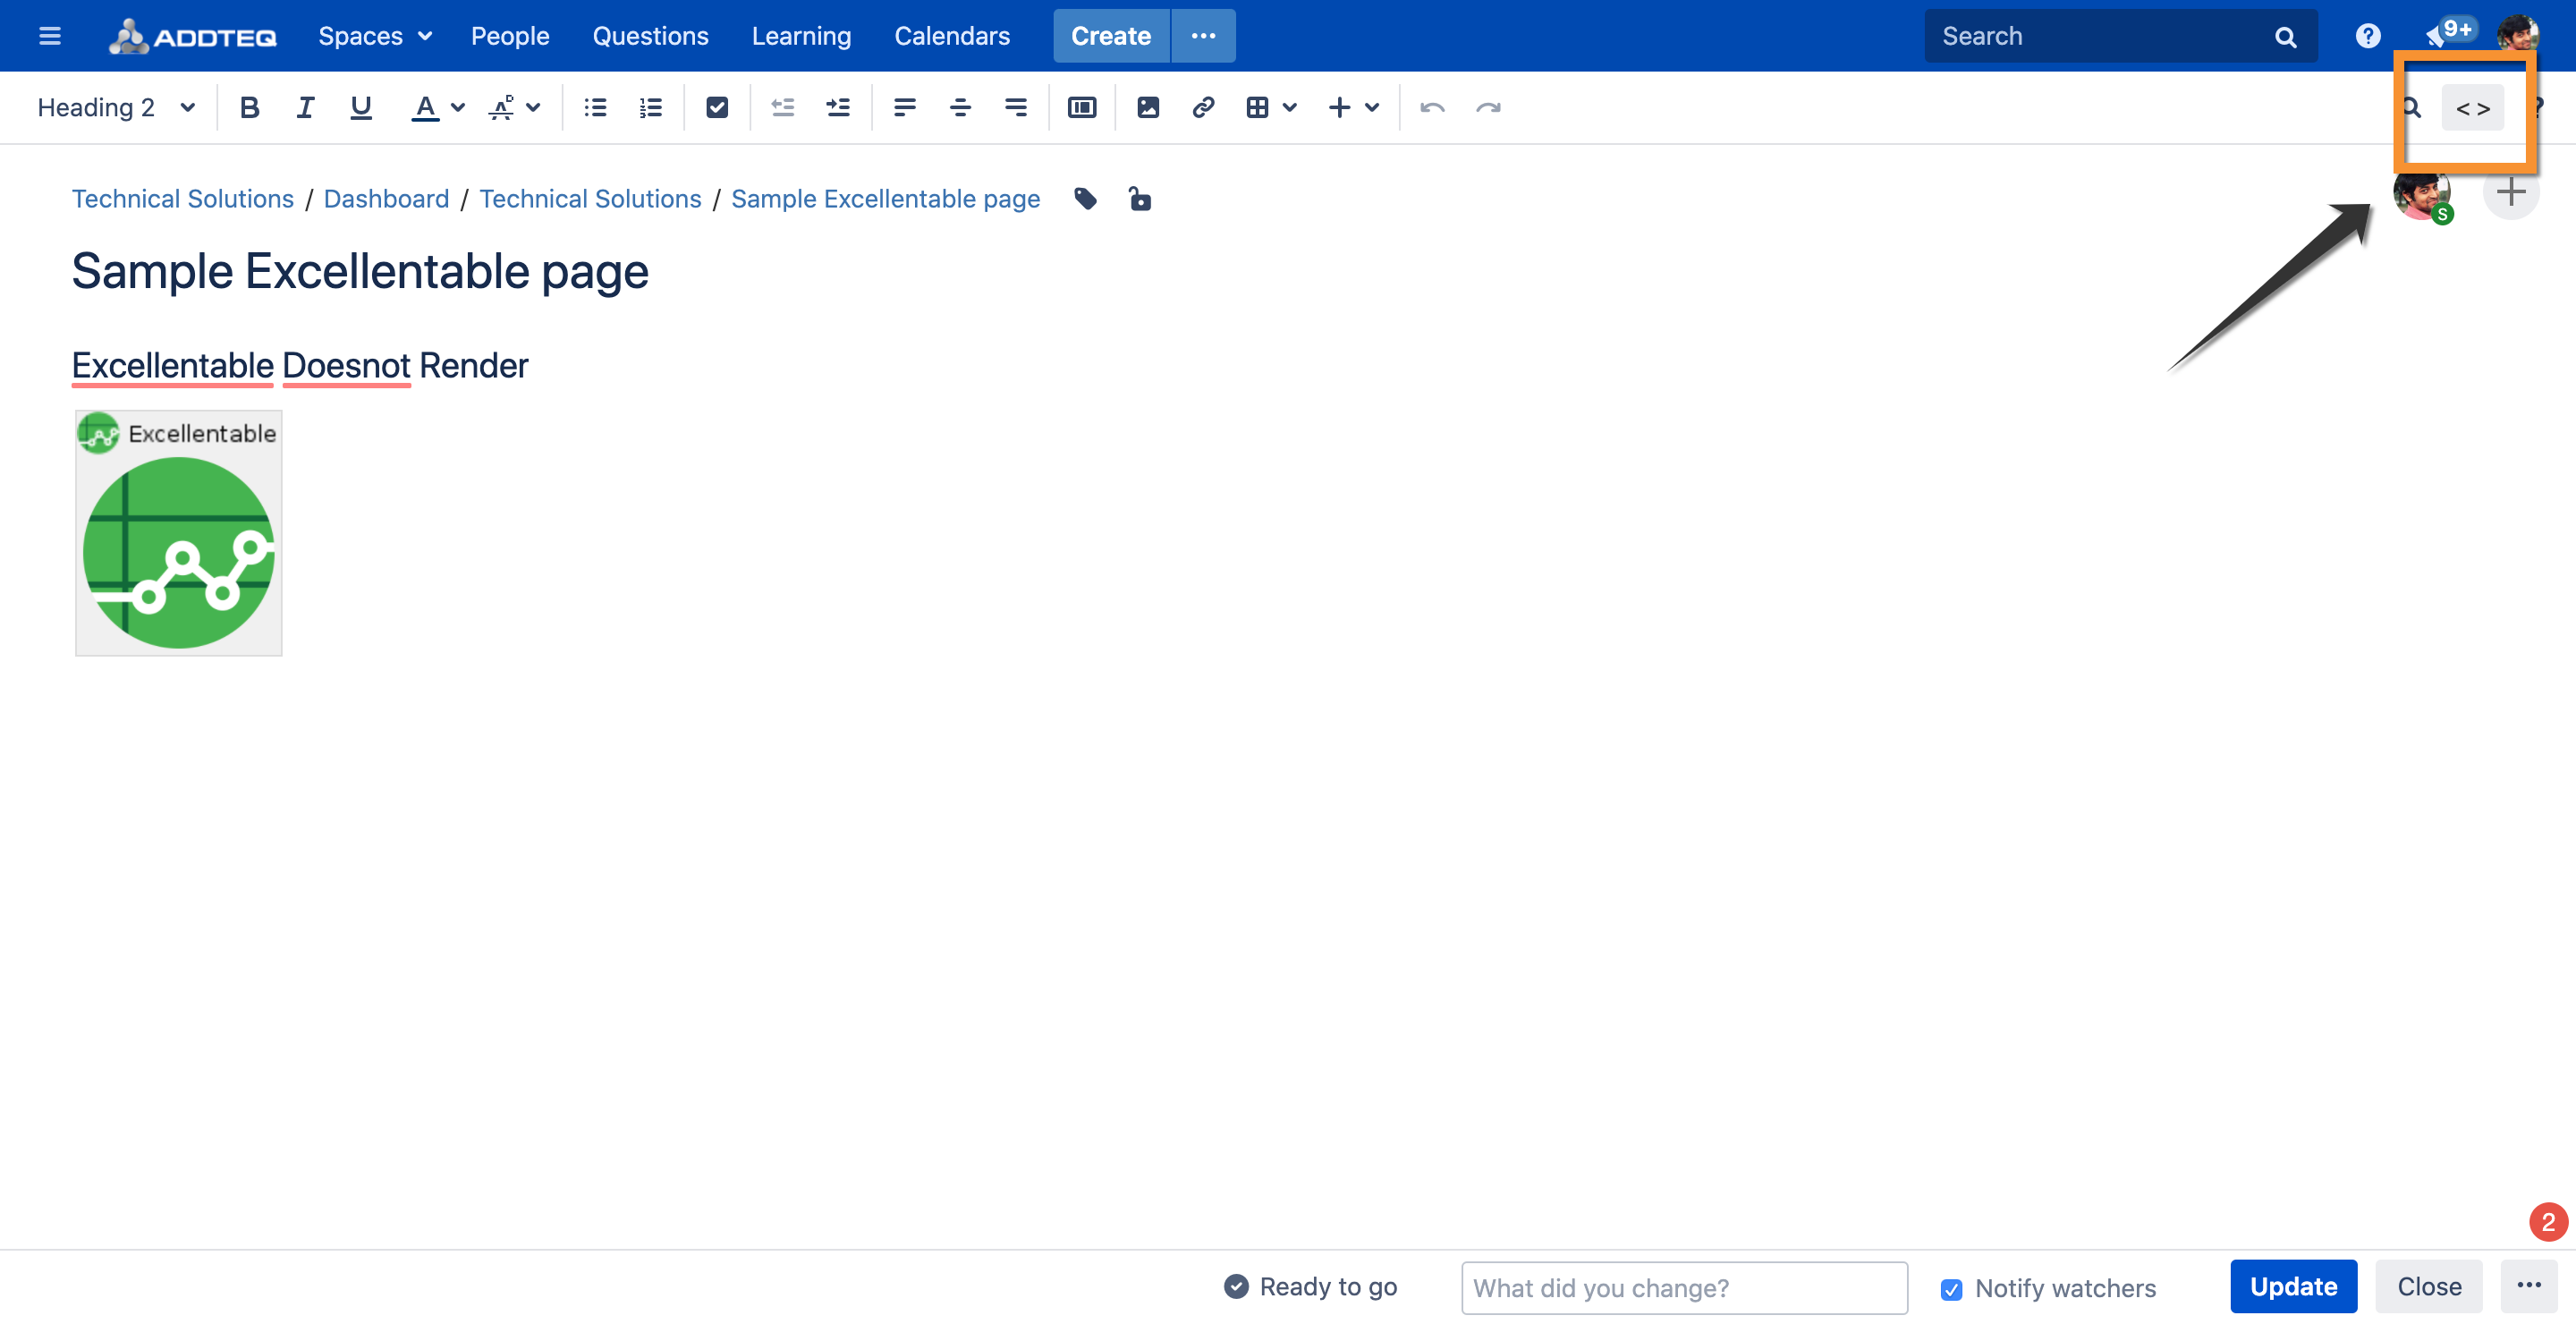
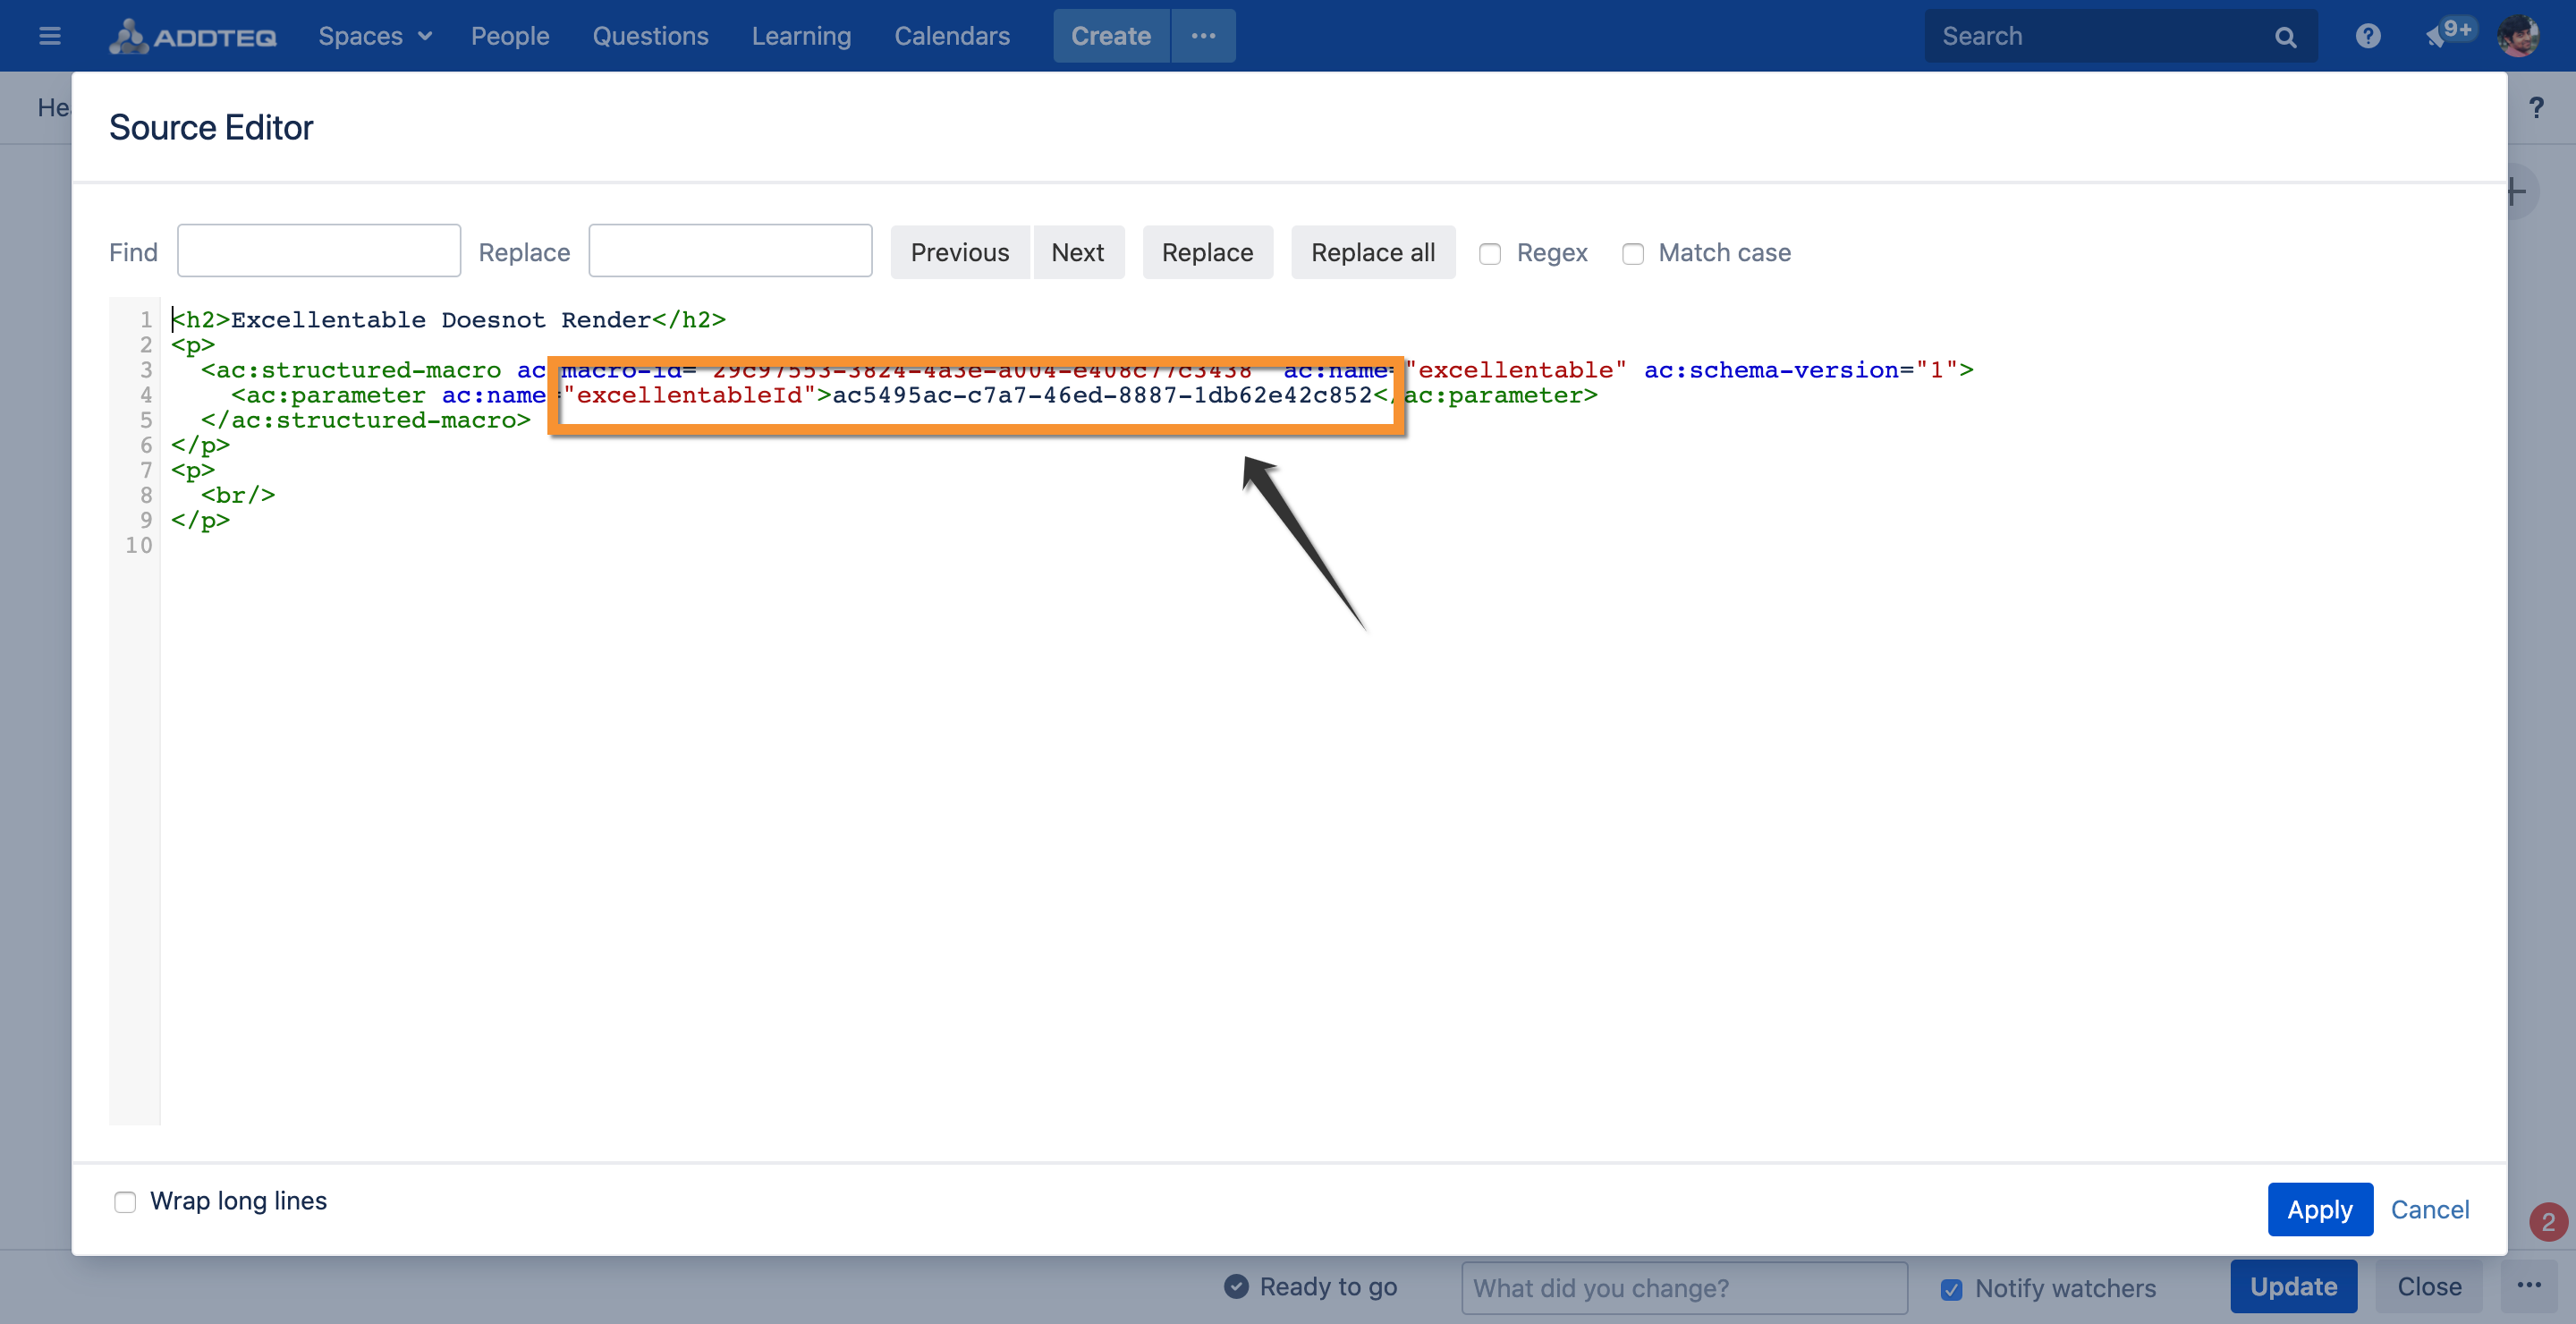
- Edit the confluence page in question and click on Top right corner "<>" to find the Excellentable ID and note it
Now, connect to the Confluence database and run a query to find the tables updated and/or created since the 4.2.1 release date.
Note
This date will be the date you actually upgraded the plugin version. We have used the actual release date of the version 4.2.1 in the example above.
The below queries are for MySQL. Please use appropriate queries based on your database.
CODE#Excellentables updated select ID, CREATED, UPDATED, CONTENT_ENTITY_ID, TITLE from AO_40ABA8_EXCELLENTABLE_DBV1 exc, CONTENT con where UPDATED >= "2020-04-27 00:00:00" and exc.CONTENT_ENTITY_ID = con.CONTENTID;CODE#Excellentables created select ID, CREATED, UPDATED, CONTENT_ENTITY_ID, TITLE from AO_40ABA8_EXCELLENTABLE_DBV1 exc, CONTENT con where CREATED >= "2020-04-27 00:00:00" and exc.CONTENT_ENTITY_ID = con.CONTENTIDIf you cannot find the Excellentable UUID (column ID from the queries above) that was found in Step 1 you will need to perform the Resolution (Data Recovery) as provided in the steps below.
Resolution (Data Recovery)
Note
There is no known workaround for this issue. We strongly recommend to test all these steps on a non-production environment before applying to production.
All the steps give below are for MySQL database. Please modify the queries based on your database for each step. If you need any assistance please reach out to us via the Addteq Products Support Portal.
- Create a new empty database.
- Restore the last available backup before the instance was restarted into the new empty database.
Run the queries from the investigation phase again.
CODE#Excellentables updated select ID, CREATED, UPDATED, CONTENT_ENTITY_ID, TITLE from AO_40ABA8_EXCELLENTABLE_DBV1 exc, CONTENT con where UPDATED >= "2020-04-27 00:00:00" and exc.CONTENT_ENTITY_ID = con.CONTENTID #Excellentables created select ID, CREATED, UPDATED, CONTENT_ENTITY_ID, TITLE from AO_40ABA8_EXCELLENTABLE_DBV1 exc, CONTENT con where CREATED >= "2020-04-27 00:00:00" and exc.CONTENT_ENTITY_ID = con.CONTENTIDLocate the Excellentable ID found in Investigation section. If you find it proceed to the next step. If the ID is not found no action is necessary.
Execute the steps below:
Create a new file called "tables.txt" with the following content.
CODEAO_40ABA8_COLLABORATOR_DB AO_40ABA8_COLLABORATOR_DBV1 AO_40ABA8_EDIT_HISTORY_DB AO_40ABA8_EDIT_HISTORY_DBV1 AO_40ABA8_ETSHARE AO_40ABA8_ETSHARE_DETAILS AO_40ABA8_ETSHARE_DETAILS_V1 AO_40ABA8_ETSHARE_V1 AO_40ABA8_EXCELLENTABLE_DB AO_40ABA8_EXCELLENTABLE_DBV1 AO_40ABA8_EXC_LICENSE_CHECK AO_40ABA8_EXC_LICENSE_CHECK_V1 AO_40ABA8_EXC_MAPPING AO_40ABA8_ID_TO_UUID_MAPPING AO_40ABA8_LIVE_EDIT_CONFIG AO_40ABA8_LIVE_EDIT_CONFIG_V1 AO_40ABA8_LIVE_EDIT_REGISTER AO_40ABA8_LIVE_EDIT_REGISTERV1 AO_40ABA8_MIGRATION_AUDIT AO_40ABA8_PLUGIN_VERSION AO_40ABA8_PLUGIN_VERSION_V1 AO_40ABA8_WHATS_NEW_DB AO_40ABA8_WHATS_NEW_DBV1Create and run the script below to take a dump of all the Excellentable tables from your database.
CODE#!/bin/bash input='tables.txt' while IFS= read -r line do echo "$line" mysqldump --max-allowed-packet=2G -u <<confluence-db-username>> -p<<confluence-db-password>> <<restored database>> $line > tables/$line.sql done < "$input"The output of the above script should be a tables directory with SQL files for each as shown below

- Log into your Confluence instance using admin privileges and navigate to Cog Icon->Manage apps
- Install the new version of Excellentable 4.2.1.1.
- Stop your Confluence instance.
- Take a manual backup of your Confluence database.
Create the script documented below, to perform restore of only Excellentable tables on your confluence database.
CODE#!/bin/bash service confluence stop input='tables.txt' while IFS= read -r line do echo "$line" mysql -u <<confluence-db-username>> -p<<confluence-db-password>> <<confluence-database>> -e "DROP TABLE IF EXISTS $line" done < "$input" while IFS= read -r line do echo "$line" mysql --max-allowed-packet=2G -u <<confluence-db-username>> -p<<confluence-db-password>> <<confluence-database>> < tables/$line.sql done < "$input"- The file tables.txt (created in step 4a above) and tables directory (from step 4b above) will be required to be copied in the same directory where you create the above script in order to run the script.
- Run the script created in step 4g above.
- Start your Confluence instance..
- Verify on the Confluence UI Excellentable renders as expected.
If you are not able to use these steps or have any additional questions please reach out to us via the Addteq Products Support Portal.